I’ve been hearing a lot of good things about CloudFlare especially how they provide free SSL. CloudFlare is also great at protecting your sites from DDOS. They sit between your site and the users where all the traffic is routed through. This allows them to control which packets they reject and which ones go through. More on what CloudFlare can do can be found here.
With that in mind, I thought I should give CloudFlare a go to get SSL for my blog and make it secure.
First I need to create an account on CloudFlare. The process is pretty straight forward.

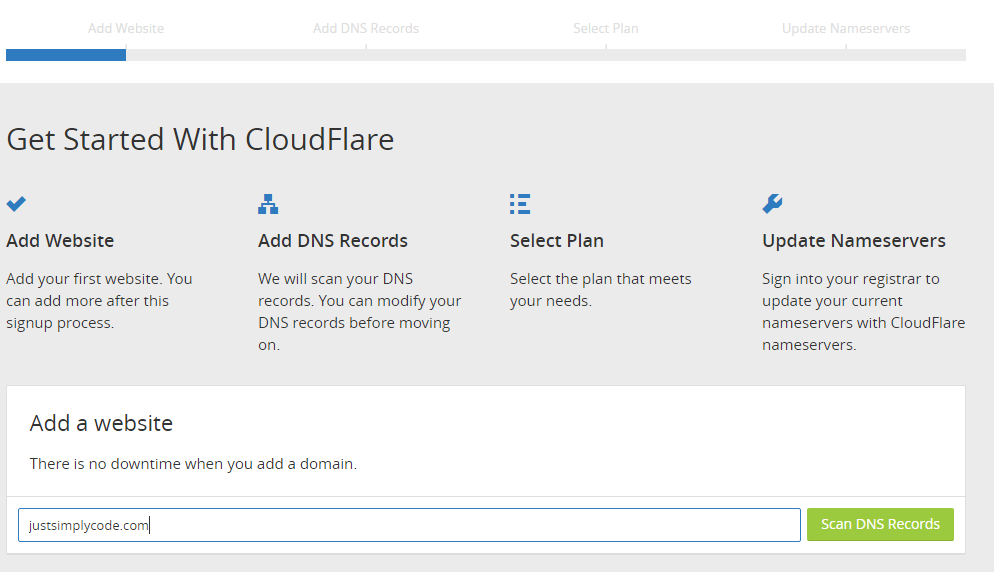
After creating an account, enter the website name so CloudFlare can scan the DNS records. This takes about a minute to complete.
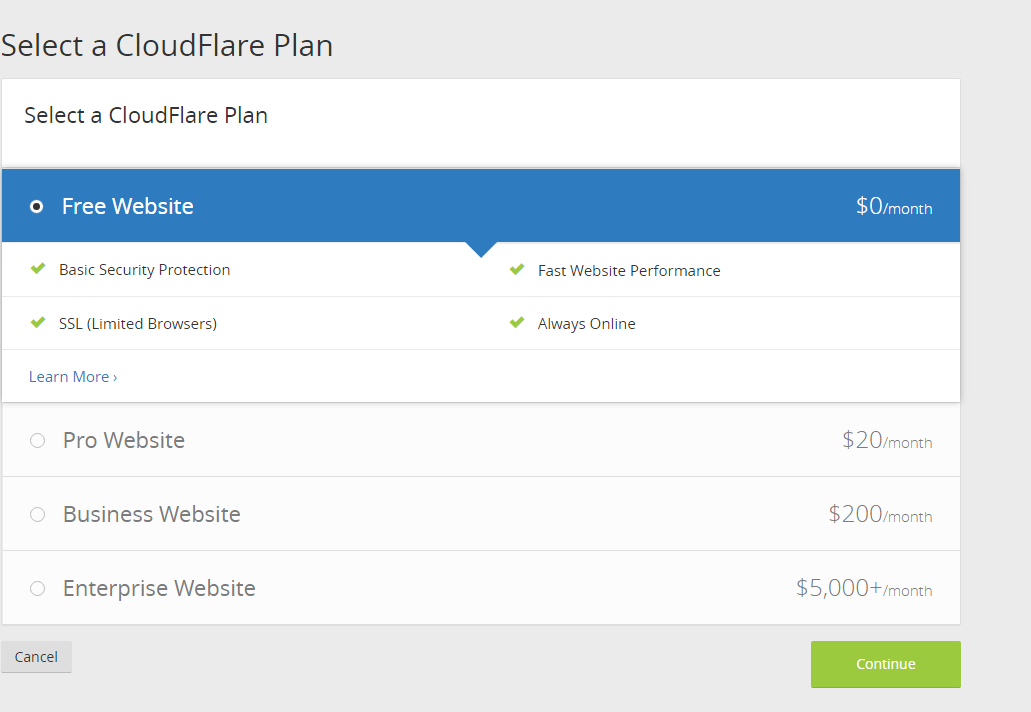
Once it completes, it displays a list of all the DNS records it could find. I remove all the MX records as I don’t receive email at justsimplycode.com. After that, select “Free Website” for the CloudFlare plan.
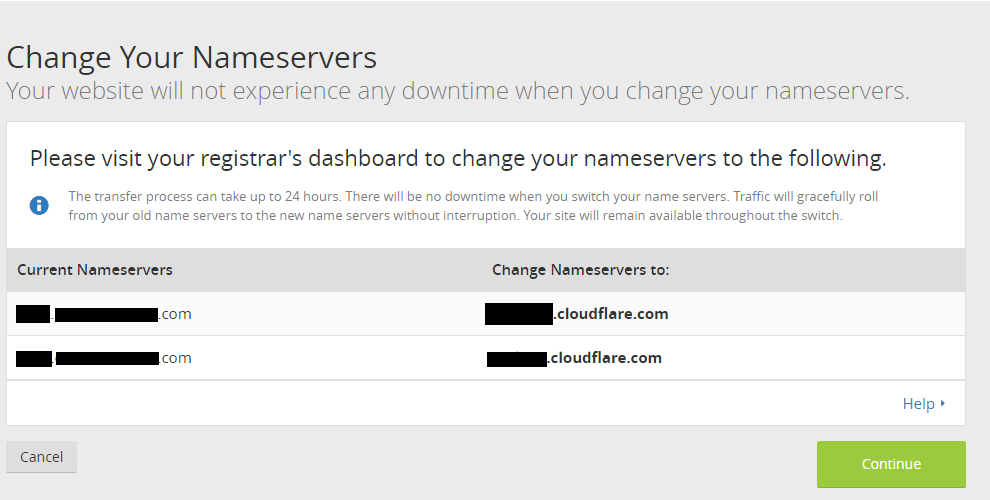
After selecting the plan, CloudFlare shows details of the nameservers I need to change to.
Since I use GoDaddy for this blog’s domain, I need to log in to GoDaddy and make the changes there.
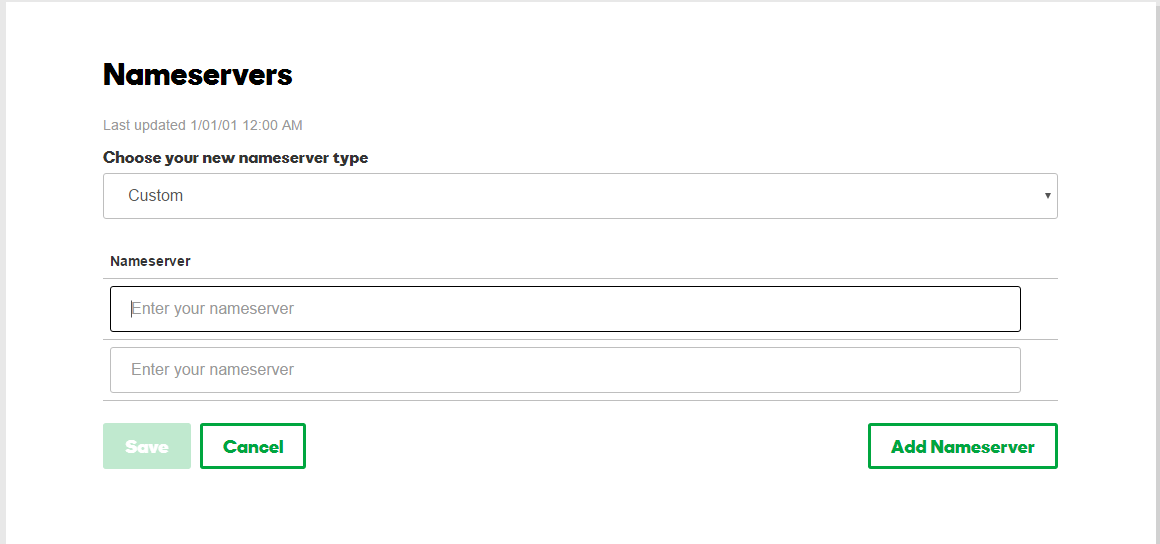
Once that’s done, go back to CloudFlare and click continue. You’ll then see an overview page with a ‘Pending’ status.
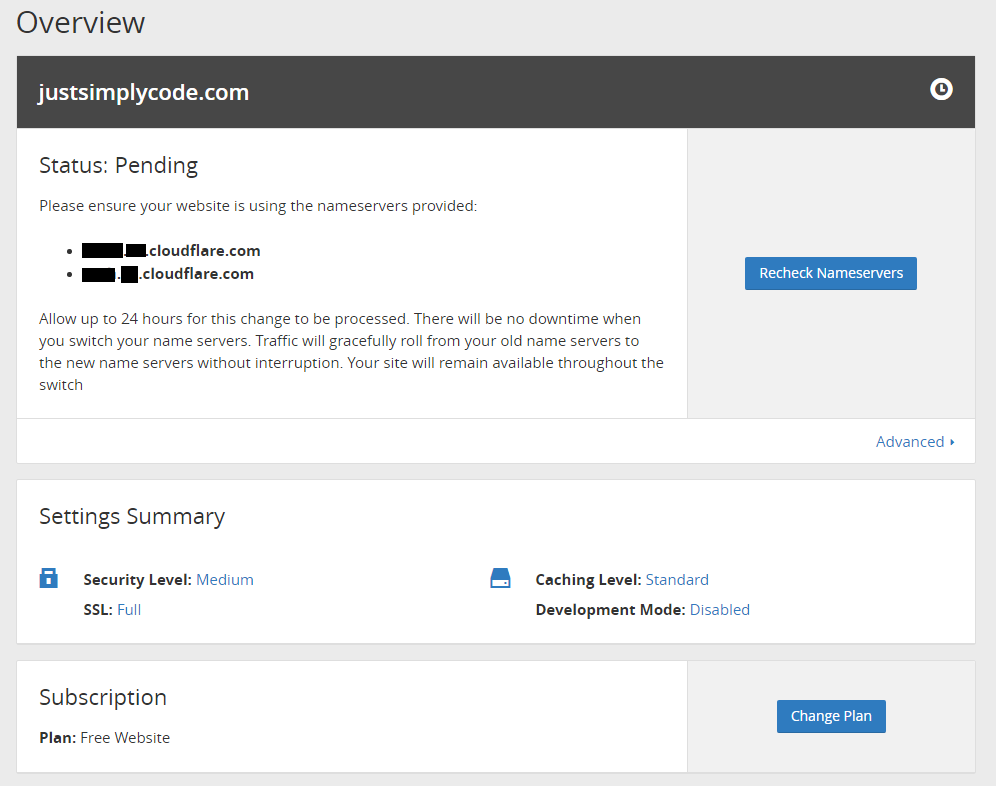
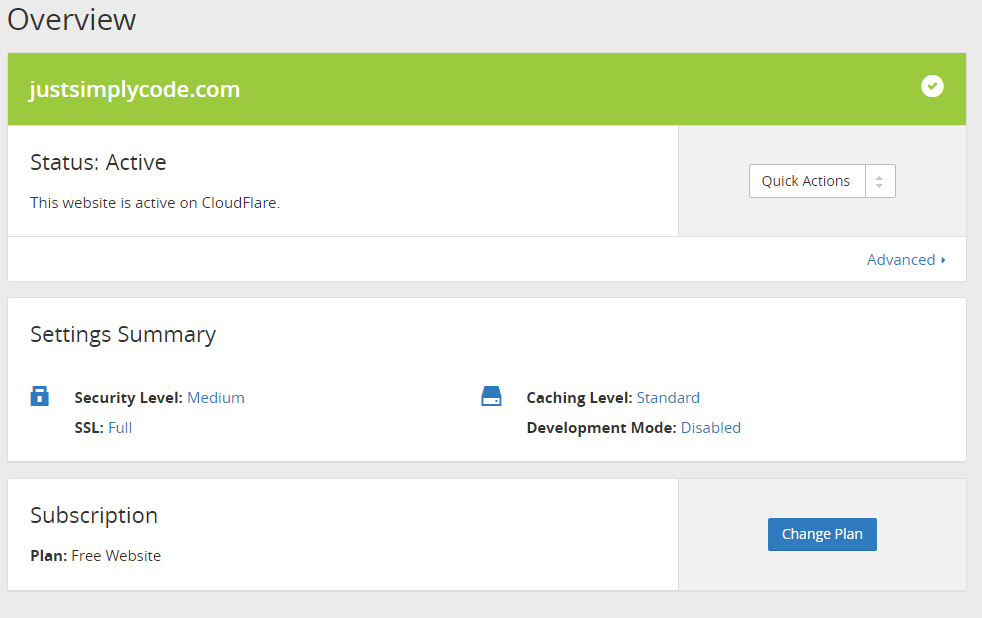
CloudFlare suggests that it could take up to 24 hours for the nameservers changes to be processed. However, it actually takes about 2 minutes for me. After clicking ‘Recheck Nameservers’ button a few times, I get a green tick.
Now, loading the https version of the site should work, but this is what I get.
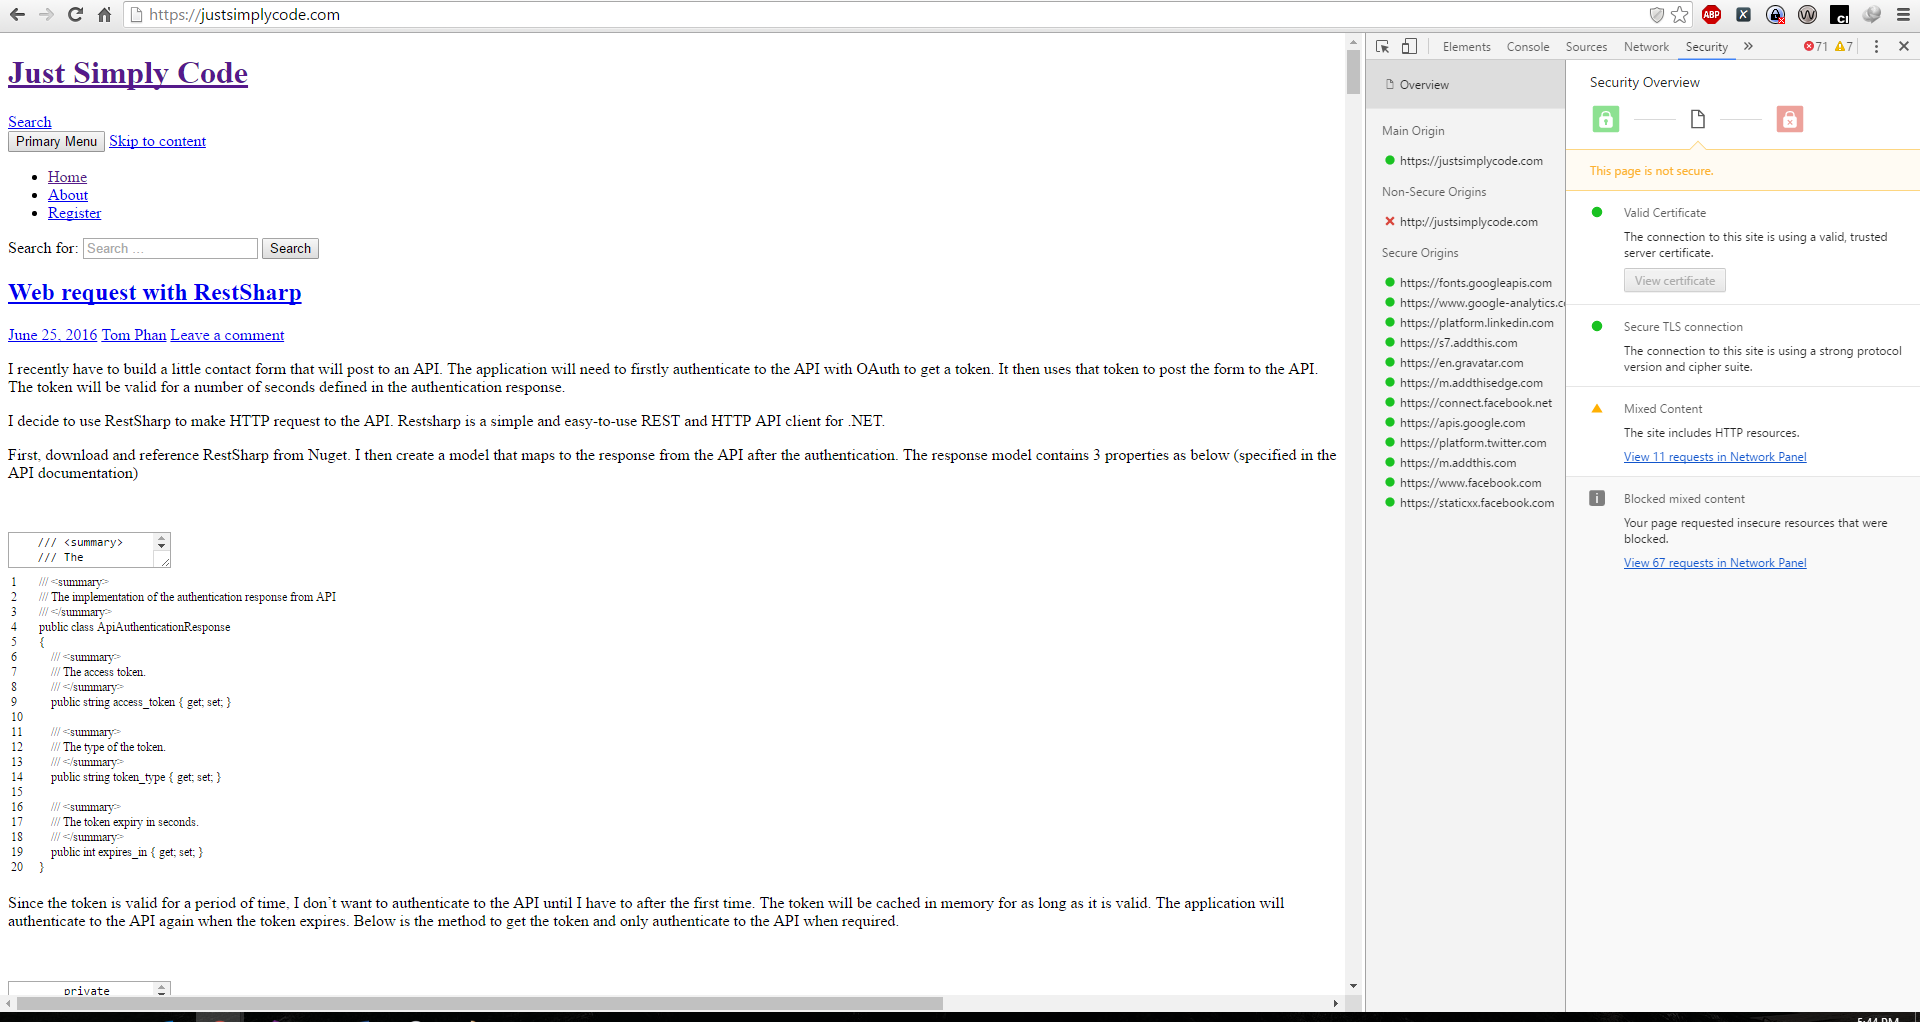
It is loaded in https but it looks like none of the static content got served. After some research, by default CloudFlare uses flexible SSL. Flexible SSL has transport layer protection between the client and CloudFlare but not between CloudFlare and the web servers. That means requests for the site’s assets between the web servers and CloudFlare are still using http protocol. This results in site includes http resources error. There are a couple ways to fix this.
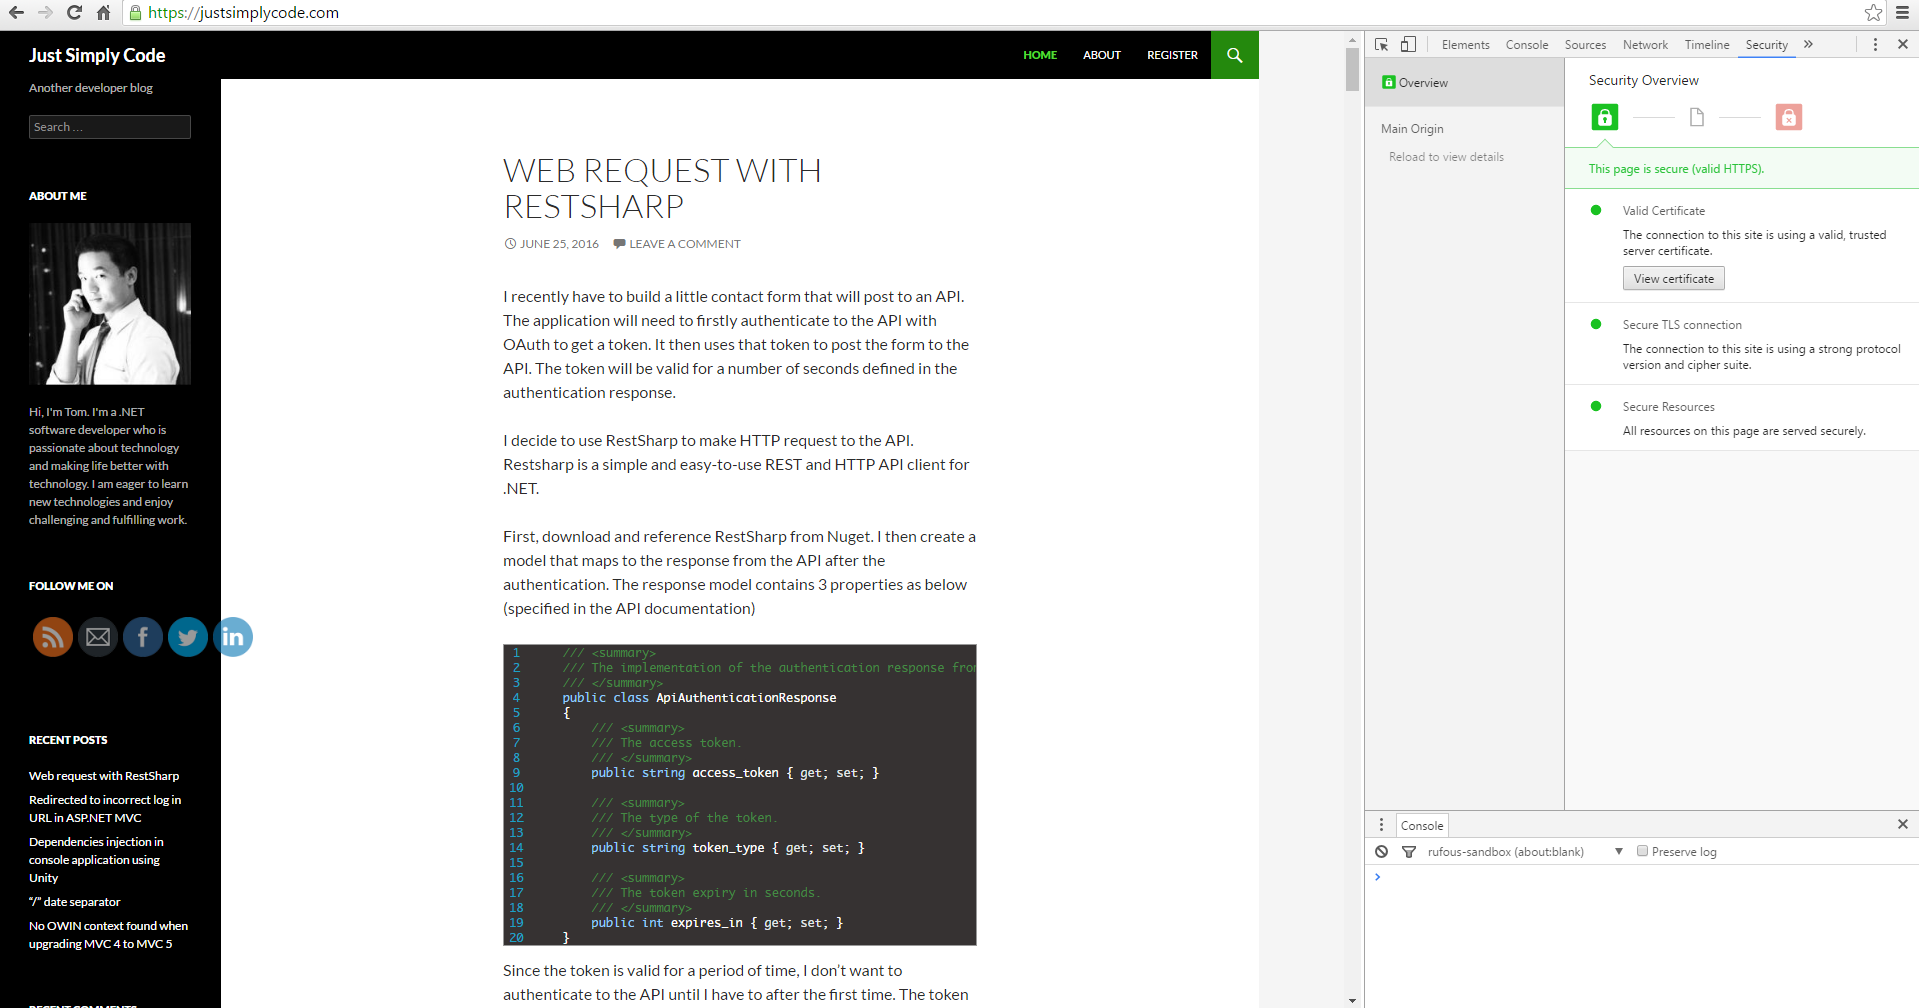
- I could use full SSL instead of flexible. Full SSL will have transport layer protection between CloudFlare and the web servers as well as between the client and CloudFlare. However, this requires having a valid SSL certificate on the web servers. A self-signed certificate would work but because I’m hosting my blog on Azure, there is already a valid SSL certificate *.azurewebsites.com so using Full SSL should just work. This is what the site looks like after changing the SSL to Full.
- Second option is when the web server doesn’t have a valid SSL certificate. You need to tell WordPress to server content on https. There is already a plugin that would help you doing this. Log in to WordPress, install the plugin “CloudFlare Flexible SSL” and then activate it.
The final step is to force https. There is a convenient plugin that’ll do just this called “WordPress Force HTTPS”. Install it and any http request will be redirected to https.

It’s this https://github.com/phikai/wordpress-force-https
Force HTTPS, you mean is plugin? https://wordpress.org/plugins/force-https-littlebizzy/